14th Century Laurel Fillet

My dear friend Vika was elevated to the Order of the Laurel at Mudthaw, so on top of delivering an entire 14th century outfit, I was also asked to apply my tablet weaving skills to her outfit.
A Laurel elevation traditionally comes with three objects: a wreath, a cloak, and a medallion.
To match Vika's persona, a fillet makes the most sense to be the wreath object, but of course it's going to have to have leaves on it. Other folks worked on a hood (the cloak), and the medallion was stunning, so I needed to really step my game up.
I decided to use some lovely 60/2 reeled silk I had acquired on my trip to Kyoto in 2017 for the project, and bought some vintage gold thread surprisingly inexpensively from the internet. Given the amount of effort required for doing a 3/1 twill pattern, and the relative abundance of brocade in medieval extant gold bands, I decided to do it in brocade. Brocade means using not just the regular weft going left to right across the fabric, but also a second weft which is woven in and out to make a pattern.
I had taken a class at Pennsic on the technique for tablet weaving broacade from Arabella de Mere, who has a lot of good documentation on it on her blog. So what was left was to document the snot out of existing examples, design a pattern, dye the silk, and then weave the thing.
Research
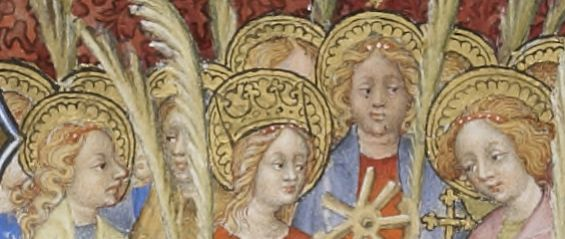
My first stop was Ecclesiastical Pomp & Aristocratic Circumstance, which has a tremendous catalog of existing patterns, mostly in brocade. I also dug through a ton of manuscripts looking for women in fillets, and much to my chagrin, most of them were either plain white, and among the decorated ones, most were red with pearls. For example, these from folio 105v of the Petites Heures of Jean de France, Duc de Berry portraying several female saints:
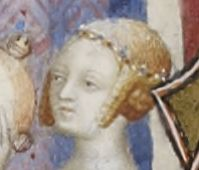
Or 212v, which suggests pearls and blue and red stones:
 |
| y tho |
This means that this kind of fillet is not strictly documentable to the 14th century, but there were a few bits and pieces to provide some inspiration.
The Book of Costume shows this 1310 English tomb brass of Lady Margaret de Camoys with a diagonal triangular patterned fillet on page 198 (illustration 553):

The Medieval Art of Love: Objects and Subjects of Desire also has a fascinating image of a woman wearing a literal wreath of leaves:

Finally, a late (1480s) example from A feast for the senses : art and experience in Medieval Europe inspires a bit of the extravagant end of the project:

If you want to see more of my thinking and research examples, feel free to read my working research compilation. It also has the weaving and dyeing math.
Design
None of these patterns have leaves, and the leaf patterns I could find are all pretty old, so I needed to invent my own. From the pictoral evidence I knew I wanted diagonals - they also look good woven. Other than that, this is what I came up with.

The two patterns on the left are from Ecclesiastical Pomp. Note that the rightmost pattern is modified subtly to prevent long horizontal sections of gold, which cause long floating threads. These threads might catch on things and tear the fabric.
The rightmost pattern is the one I went with, with a clever reversal in the middle to make it symmetrical. I nearly went with a more complex version involving more colors and Vika's heraldry...

But I was wisely talked out of this.
The actual pattern uses 42 cards, including a two-card border which never has gold thread showing. This is important, because the gold thread needs to turn around within the band, not on the ends, to protect it from wear. For this to work well, the second-to-edge tablets must always have the gold thread passing within them. So the outer two tablets don't get gold. Making this border wider would add stability but decrease the shininess.
Before weaving, I copied the pattern to graph paper and set to work. A useful innovation was drawing lines every five tablets, and then floating giant safety pins on the warps corresponding to two of those lines so I wasn't counting to forty on every pick.
Dyeing
My chief problem now was that my silk was white, not green like I wanted. To make green, we use indigo (blue, would probably have been woad in period) with weld (yellow).
I'd never futsed with indigo, but I started a bunch of experiments to get this going.
Indigo needs to be chemically reduced - given electrons - to become its clear, water-soluble form, which then will oxidize in the air back to the insoluble blue form. The historical way to do this was with fermenting urine, but I went with the much more sensible fructose-lime vat, which uses fructose and quick lime to accomplish the same thing. Fructose is a reducing sugar!
Common proportions are 1-2-3 indigo-lime-fructose by weight, but in practice I found this produced meh results. I got better results on the silk by adjusting the pH to 9-10.5 with the indigo mixed in, and then adding perhaps 10 grams of fructose as needed to get it to reduce, stirring, and letting it settle hot overnight.
Doing this, and then pouring off the liquid and dyeing in it, produced good results, although it did take several baths to get the color I wanted.
However.
My first problem was bad indigo. I bought some cheapo indigo for hair dyeing off Amazon and set to work.


This gave my silk the idea of blue, but not much.
At Pennsic, I got some actual indigo (and a bunch of weld, the yellow dye)

This gave much better results. I wound up using my digital pressure cooker on its slow cooker setting to keep the pot hot, which worked well.

I tried to make a bunch of trial strips like these, but the silk I was using didn't really behave well and gave nasty mucky colors. The silk thread seemed to take up color differently, so my dream of having it all dialed in were moot. Instead, I just slowly alternated dyeing in indigo, and dyeing in alum-mordanted weld. This made a nasty colored liquid:

But the final product was a great color with the gold:

Interestingly, the wool thread I used to bind the silk took the color on much more deeply.
Weaving
Before dyeing, I did a test weave to determine if I wanted to use the gold thread doubled or single:
 |
| This was the only setup where I could get the yarn swift clamped onto something stable. |
 |
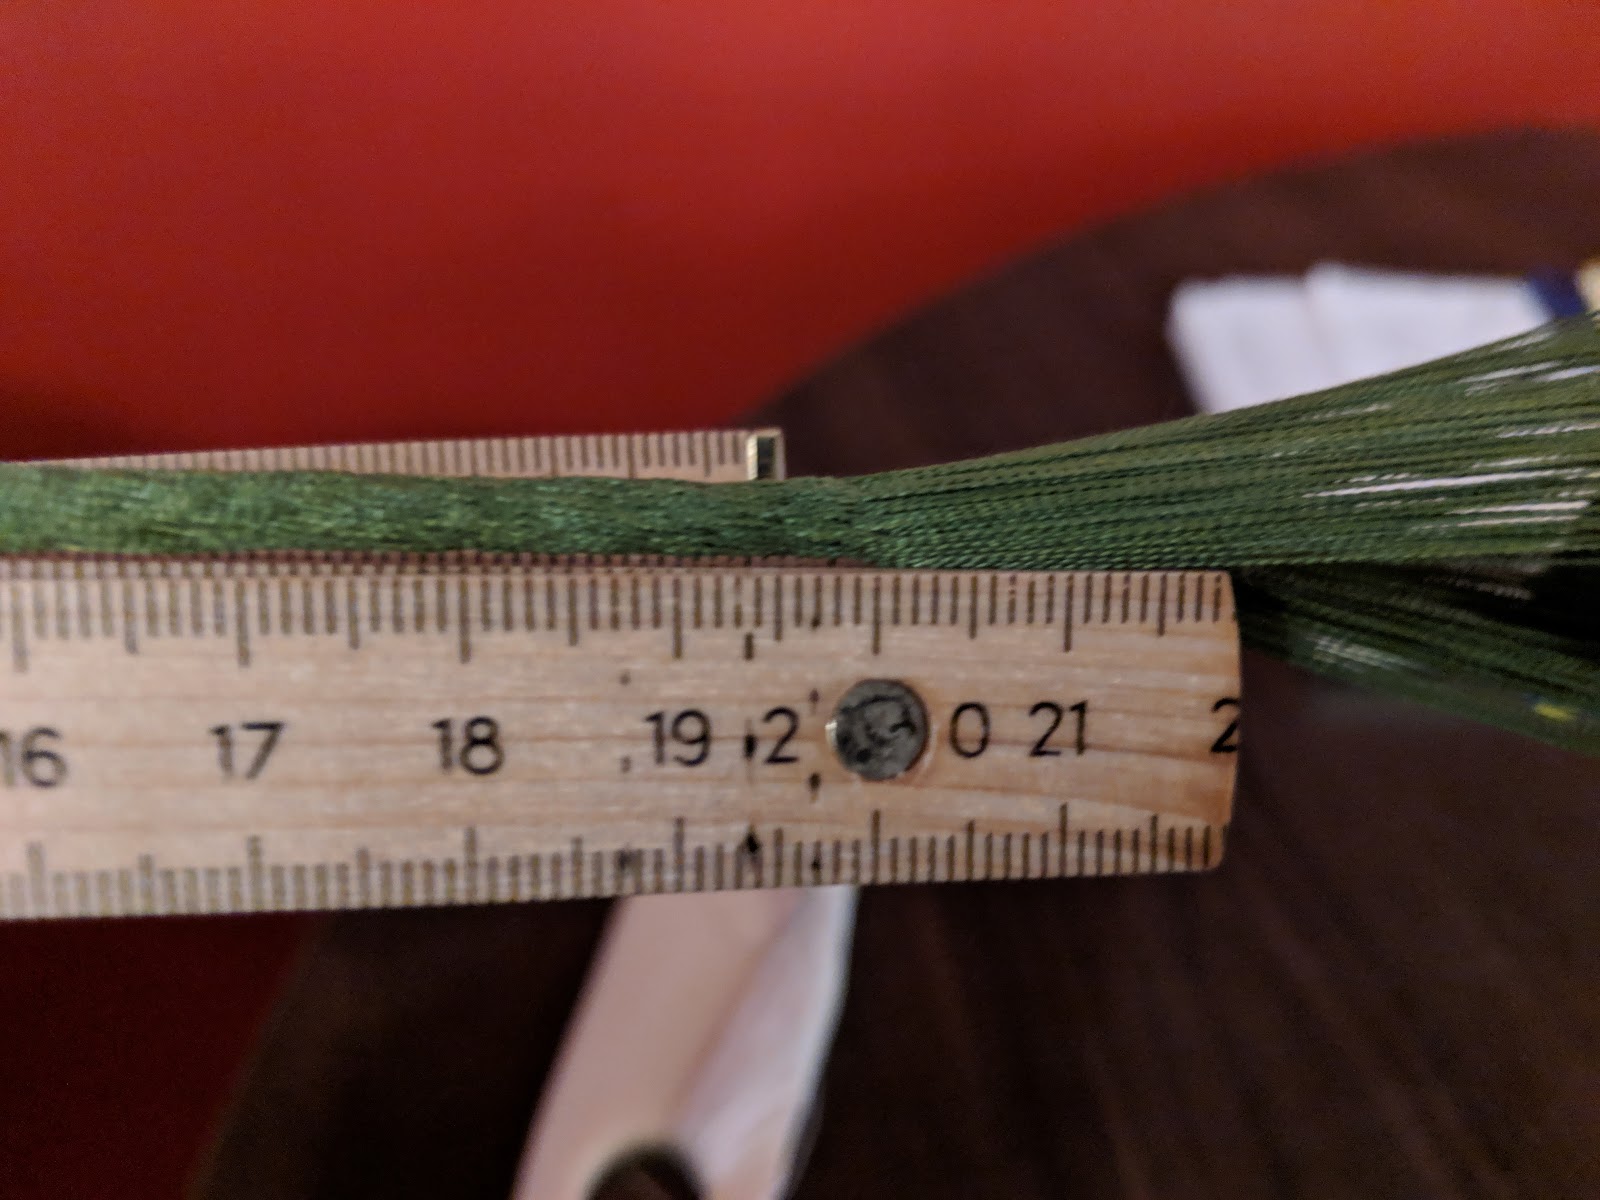
| Measuring out the warp on a more rigid swift |
 |
| Using the loop of this ball winder to run the thread through |
 |
| Continuous warp! |


 |
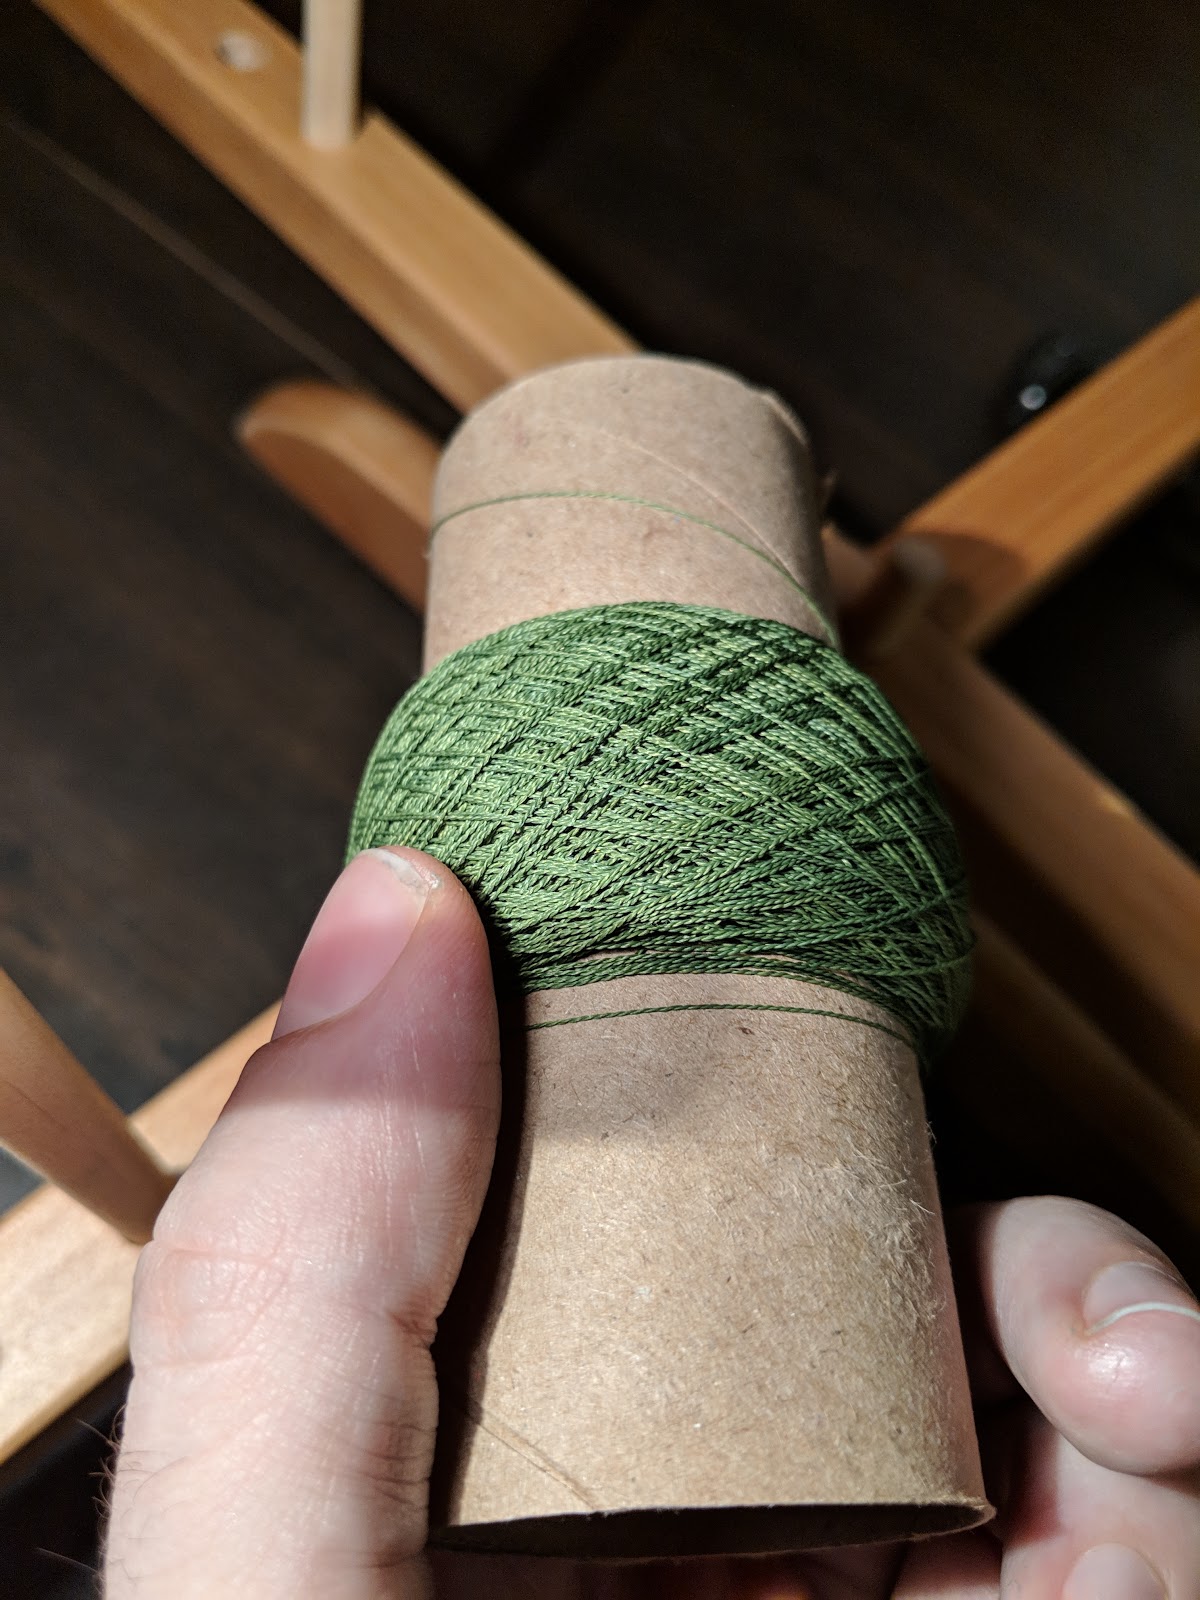
| Using this technique to store weft because it adds less bulk, so I can store more weft. |
 |
| Tubular start works. |
 |
| Single on the left, double on the right. |
I went with double.
I measured out the warp with a good bit extra for slop and tried to do the fancy cross thing to keep the yarns neat.


It was also important to not accidentally cross the weft and brocade shuttles, which took some discipline.


So I wove a braid. This is fine. It's fine. Nobody will even see this part.

I then burnished the band with a linen smoother, and did some tiny embroidery to match a weaving mistake I had made. Now it's intentional!

 |
| Before burnishing. Note also that the edges of the band are more compressed than the center. This is because of the way my tensioning of the band worked. I would have liked to reduce this effect. |
 |
| After burnishing. Slightly nicer. |


Seeing that really blinged-up 1480s photo, I wanted to add something to the center. Hmm. Well, star sapphires are in season this time of year, and Vika's device does have estoiles (wavy six-pointed stars) on a blue field, so...


I bought a four-pronged cabochon setting and sewed it down with the green silk I used for the warp. This was remarkably fiddly work to do precisely, but worked. I then set the stone. I had never prong set a stone before, but it's mostly just carefully smooshing the silver, and I had the right smooshing tool for it.
Final Product
Finally, I trimmed off the stray yarns and sent it off to its recipient:


 |
| Can you spot the weaving mistake? Which side is the mistake and which is the embroidery? |
I'm very happy with how this came out, despite its small flaws. It looks medieval, and it looks high status, which was the point. I also learned a ton: dyeing, gold thread, stone setting, brocade.
I'll also be not doing anything like it for quite some time, since it was a ton of work.

This work is licensed under a Creative Commons Attribution-ShareAlike 4.0 International License.
The photos are under the same license except the cited manuscript and book images, and the photos of Vika.
Comments
Post a Comment